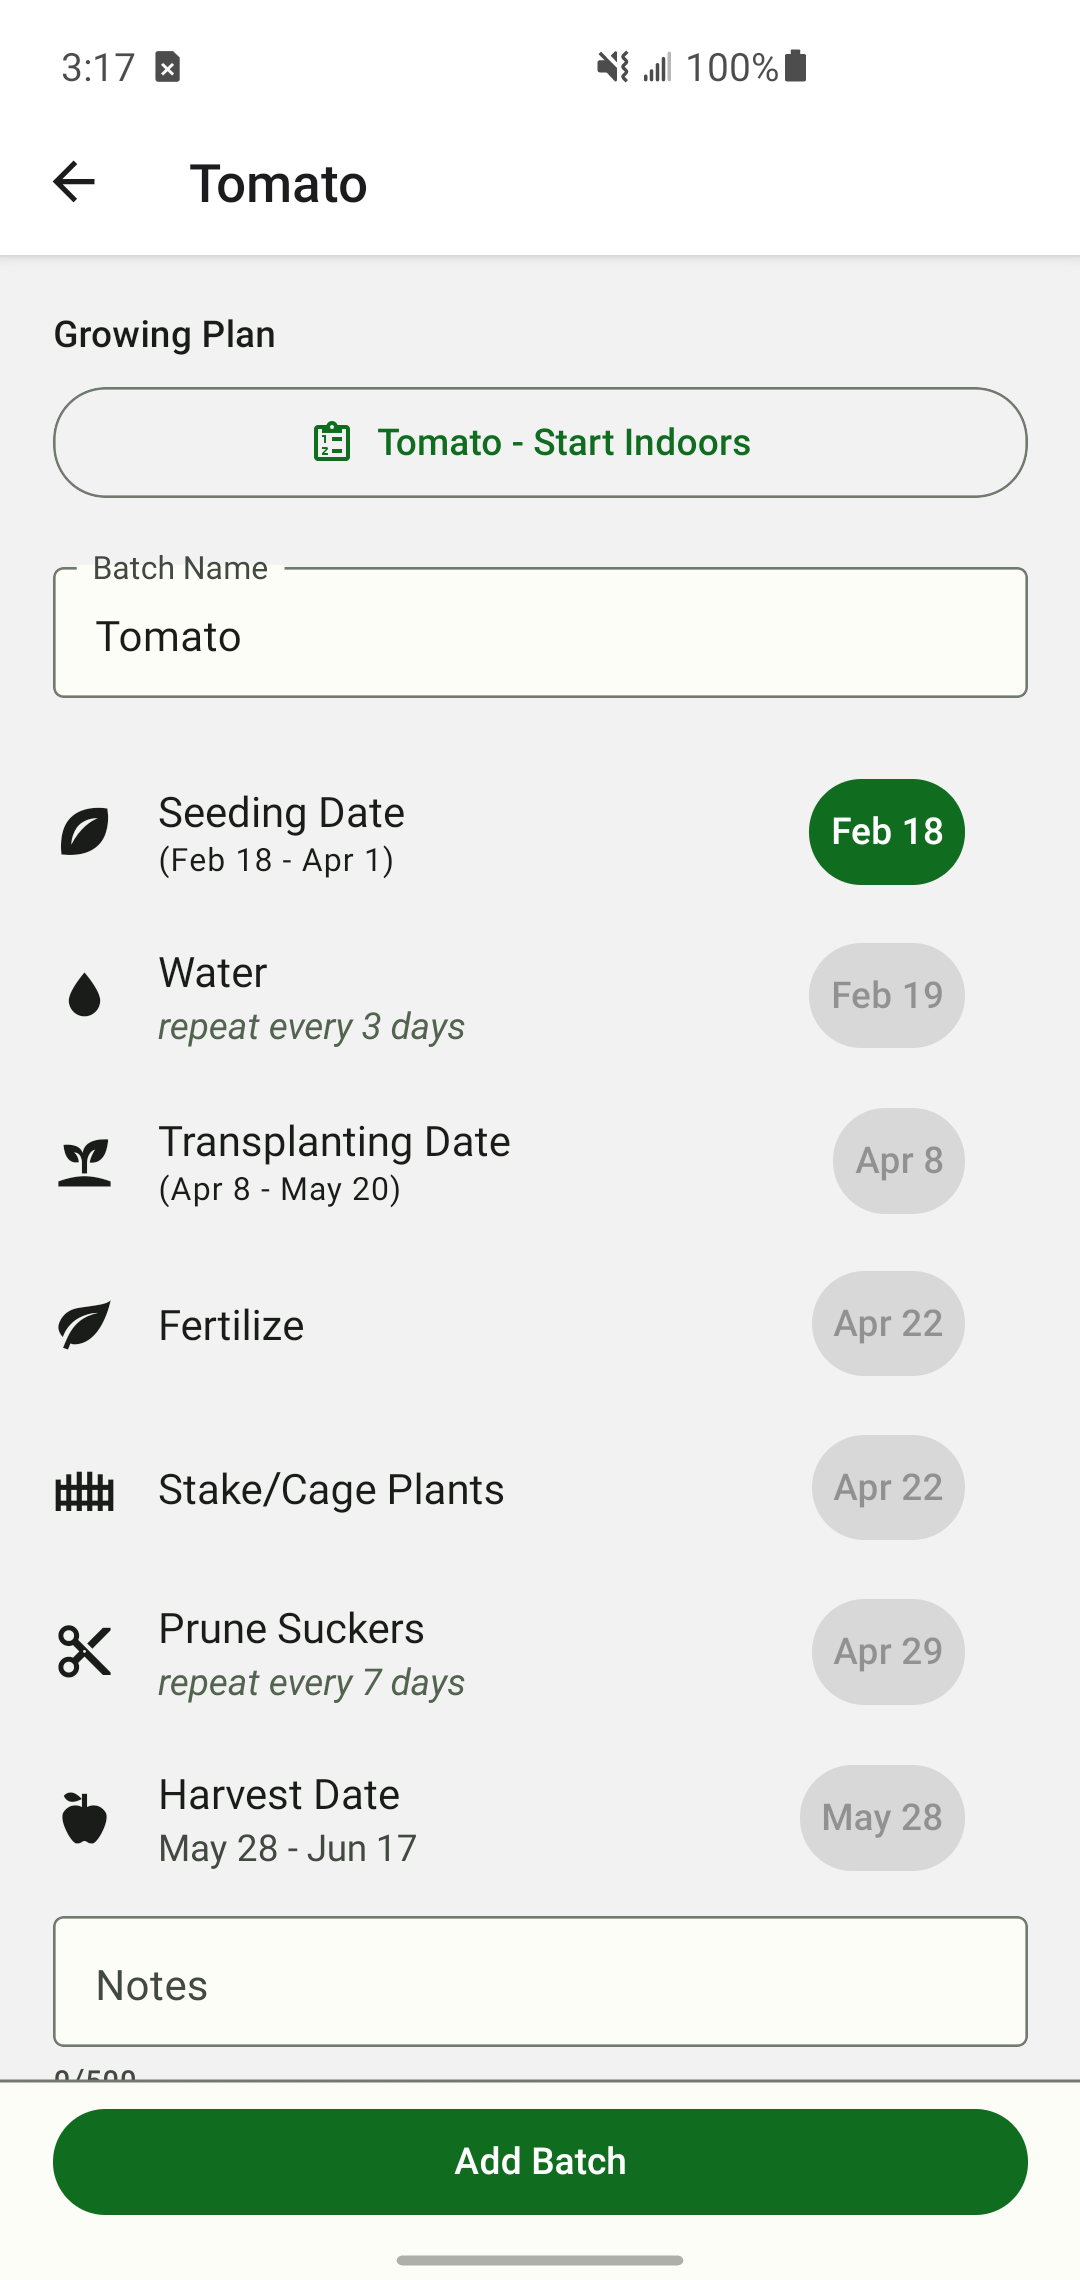
From first seed to last harvest — everything you need to know.
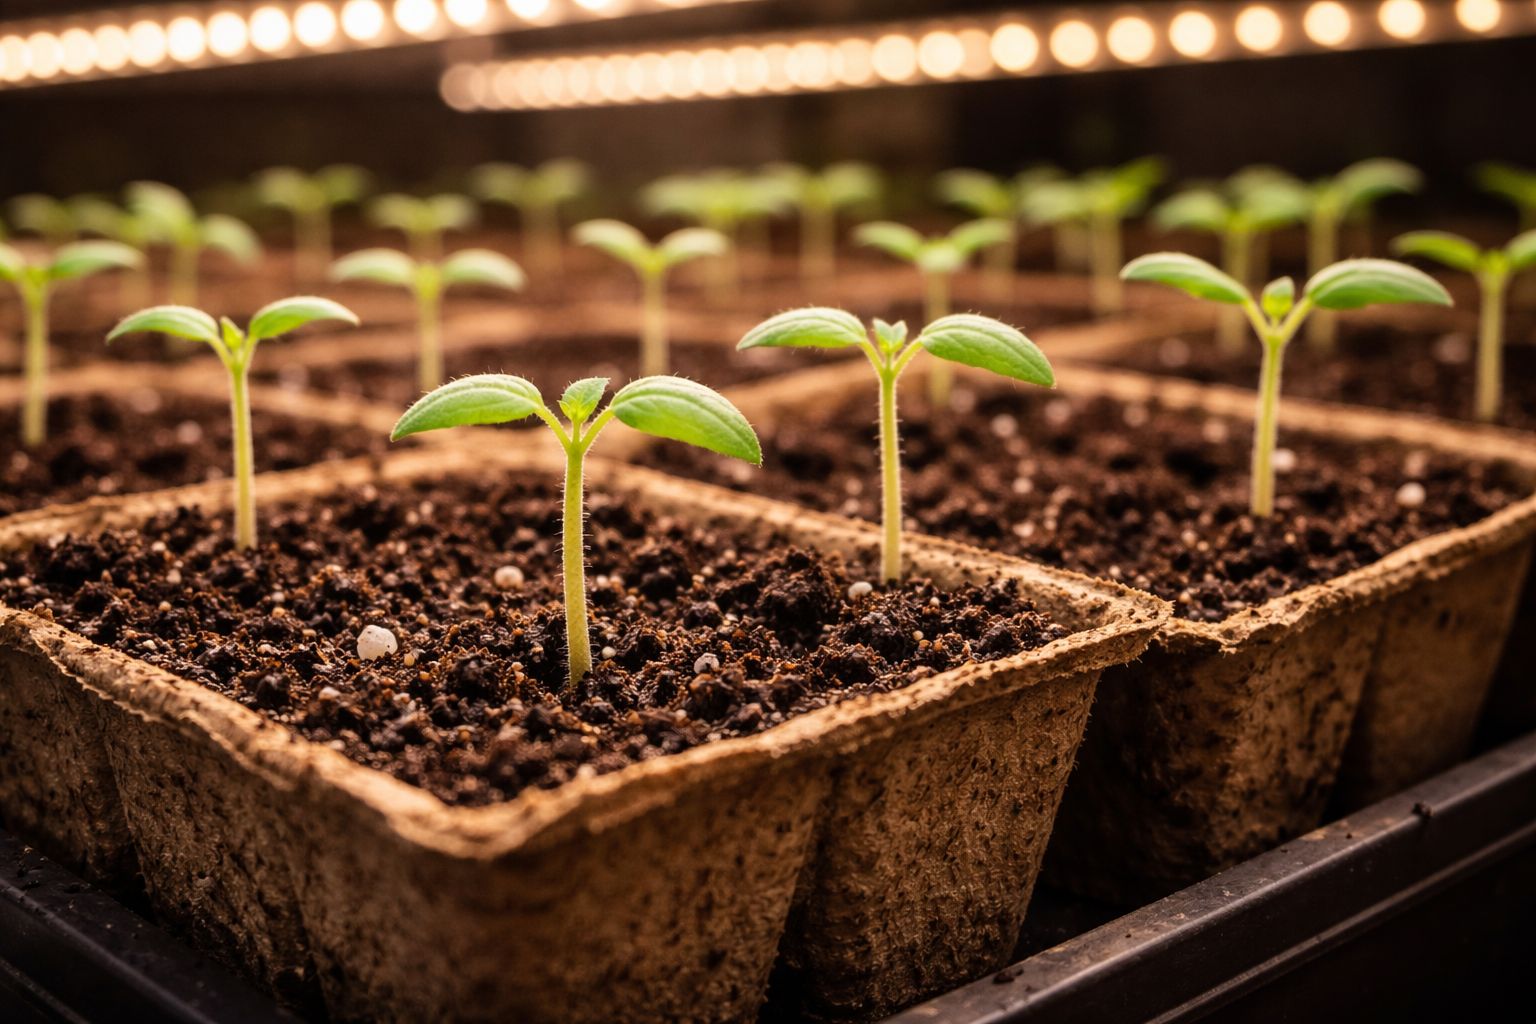
🌱 Step 1: Starting Seeds Indoors
Start seeds 6–8 weeks before your last expected frost. Fill small cells or pots with seed-starting mix (not regular potting soil — it drains better). Sow seeds ¼ inch deep, two per cell.
- Keep soil temperature between 70–85°F (21–29°C) — a heat mat helps significantly
- Seedlings emerge in 5–10 days as two small rounded leaves (cotyledons)
- Once sprouted, move under bright light — a south-facing window or grow light 2–3 inches above seedlings
- Thin to one seedling per cell once 2 inches tall
- Water when the top half-inch of soil is dry
💡 Pro tip:
Tomato seedlings need at least 14–16 hours of light per day to stay compact. Without enough light, they grow tall and leggy — these "leggy" seedlings still work but are harder to manage at transplant time.
🪴 Step 2: Hardening Off
Before planting outdoors, seedlings need to be gradually introduced to outdoor conditions over 7–10 days. Skipping this step causes transplant shock.
- Day 1–2: Place outside in a sheltered spot for 1–2 hours in the morning
- Day 3–5: Increase to 4–6 hours including some direct sun
- Day 6–10: Leave outside all day, bring in if frost is forecast
- After day 10: Ready to plant permanently

🌿 Step 3: Transplanting
Transplant after your last frost date when nighttime temperatures consistently stay above 50°F (10°C). A single late frost can kill your plants, so check the forecast for 10+ days before planting.
- Plant deep — bury the stem up to the lowest set of true leaves. The buried stem grows roots, creating a stronger plant
- Space plants 18–24 inches apart in rows 3–4 feet apart
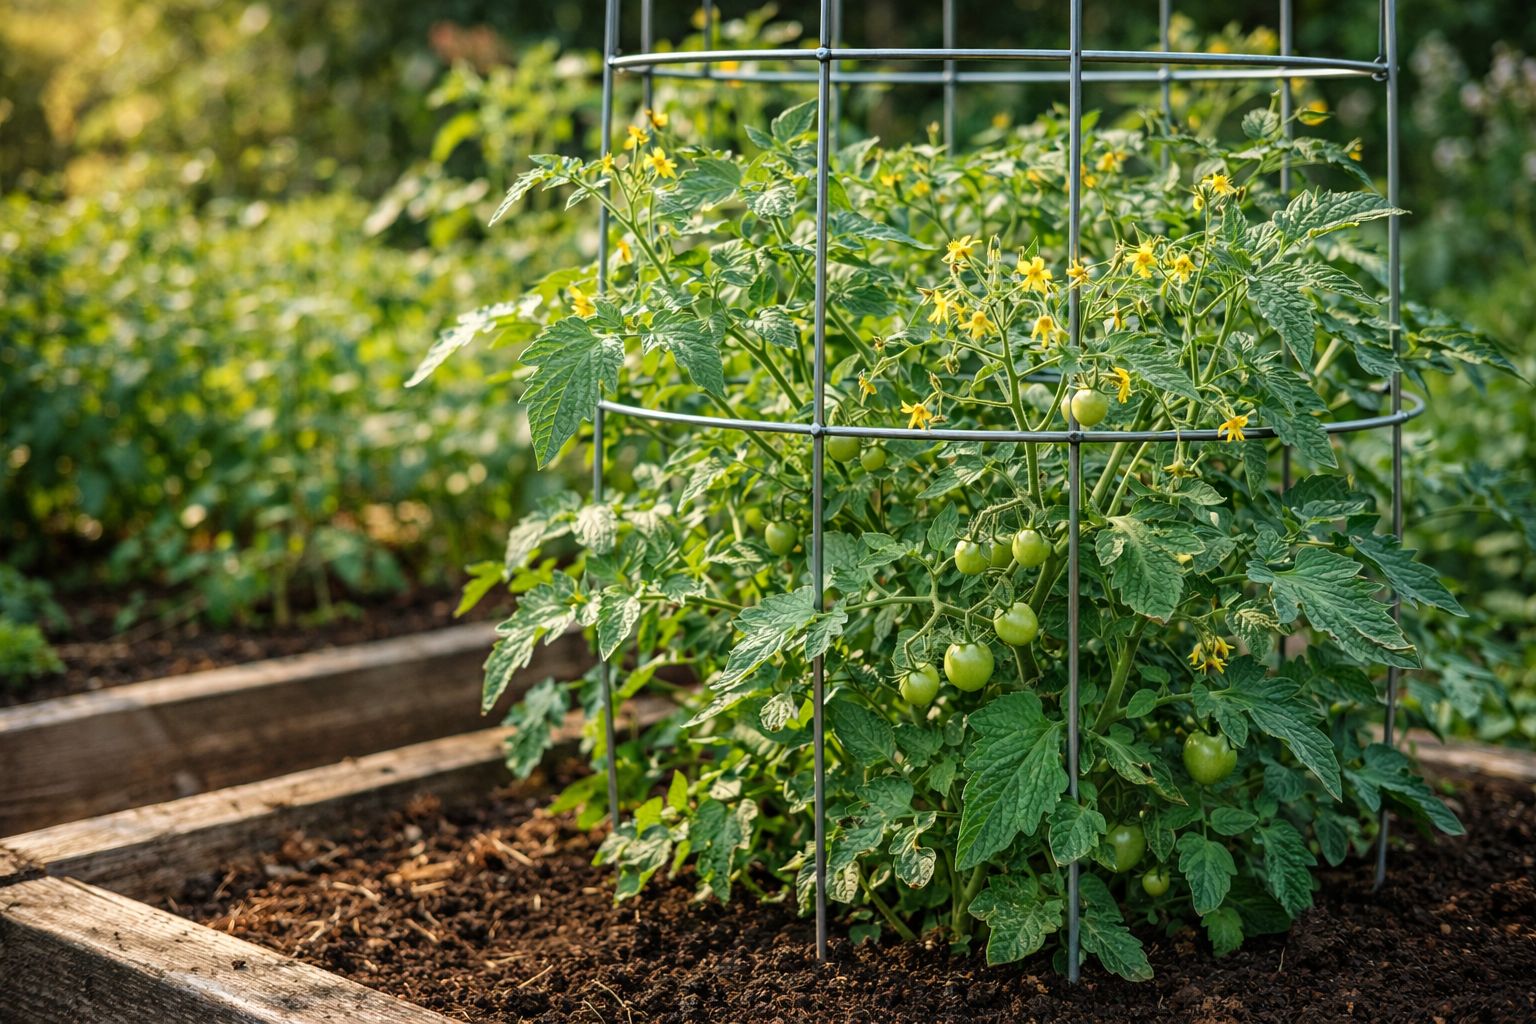
- Install cages or stakes at planting time to avoid disturbing roots later
- Water thoroughly at planting — 1 gallon per plant
- Apply 2–3 inches of mulch around the base to retain moisture and prevent soil splash (which spreads disease)
🛒 Buying transplants:
Skip seed starting entirely by buying transplants from a nursery. Look for stocky, dark-green plants about 6–8 inches tall with no yellowing. Avoid plants already flowering — they've been stressed. This saves 6–8 weeks and gets you harvesting sooner.
🌻 Step 4: Ongoing Care
For the first 3–4 weeks after transplanting, the plant focuses on root and leaf growth. The main stem thickens and side branches (laterals) develop.
Watering: Water deeply twice a week, soaking the soil 6–8 inches down. Inconsistent watering causes blossom-end rot and cracking. Drip irrigation or soaker hoses are ideal.
Feeding: Start fertilizing 2 weeks after transplanting. Use a balanced fertilizer (10-10-10) every 2 weeks until flowers appear, then switch to a low-nitrogen, high-phosphorus fertilizer to encourage fruit set instead of leaf growth.
Pruning suckers (for indeterminate varieties): Remove the small shoots growing between the main stem and branches — these are "suckers." Removing them focuses the plant's energy on fruit production. Do this weekly once plants are established.
- Tie vines to supports as they grow — every 6–8 inches
- Remove yellowing lower leaves to improve airflow
- Top the plant (pinch the growing tip) 4 weeks before your first fall frost to direct energy into ripening existing fruit